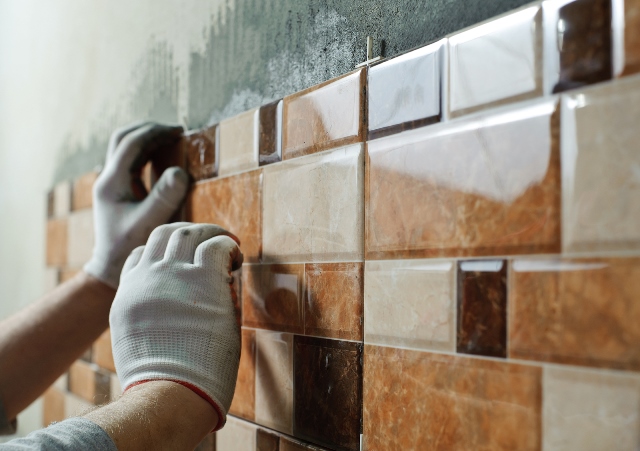
Home Improvement: Grouting Ceramic Tile
Grouting ceramic tile require a few simple steps that can make the process very simple and easy.
 Grout is the substance used in filling up the spaces between ceramic tiles. Learning how to grout ceramic tiles is very important, as it will determine how your ceramic floor will look.
In this case, if you are not sure about your grouting ceramic tile abilities, it is best to consult or hire a professional to do the job for you. However, this is an easy job, which can be successfully done by following some simple steps.
Choices For Grouting Ceramic Tile
The first step is choosing the right type of grout for your room’s environment. Most types of grouts are acceptable in areas of high moisture, however, you should know that some of these are permeable, and may absorb water into the underlayment. To prevent this, it is recommended that you use a sealer every few years.
The most commonly used grouts are cement based, especially for residential installations. Grout can generally be categorized into three grades:
• Unsanded Grout: For walls, with a maximum of 1/8 inch width joints
• Sanded grade: For joints of about 1/8 to ¼ inches
• Quarry Grade: Has more course sand grains, for joints exceeding ¼ inch
The sanded grade grouts are normally used for floors, since they are slightly rougher and significantly stronger. For best results, grout should be applied at least 24 hours after the ceramic tiles have been laid. Be sure to clean the surface off the debris as well as any other protruding materials.
Grouting ceramic tile with cement allows a reasonable time for the surface to harden. Nonetheless, if the surface hardens too fast, you can reduce this by dampening the joints between the tiles an hour before applying the grout. You can do this by using a damp brush, sponge, spray bottle, rag, etc.
Mixing the Grout
Mixing dry powder grout with liquid grout additive or water requires very little mixing to even out the blend. Avoid over mixing as it can entrap air bubbles that will eventually lead to more permeability of moisture and increase shrinkage. All this will affect the general quality and uniformity of color of the tiles.
In essence, you should add the liquid to the powder, not the other way round. Make sure the mixture is not runny. It should be of about the same consistency as peanut butter. Let the mixture sit for 5 minutes then remix lightly. Latex additives can be used to improve the surface hardness as well as the color considerably.
Applying The Grout
1. Apply the grout in the joints using a rubber float or trowel. Use the float to level the joints and squeegee excess grout off the surface.
2. Allow the grout to dry in about 15 minutes. Use a spray bottle to slightly dampen the entire surface. Repeat the squeegee process to further smooth out the joints
3. Let it sit for 30 minutes, then wipe the surface to remove the fine dust residue
4. It is recommended that all cement grouts be sealed to retain their appearance, and make them easier to clean
That is it. Grouting ceramic tile is that easy!


 Recent Blog Posts

